How to Create an Insect Habitat in Your Garden
A Smithsonian gardener offers tips for sheltering the insects during the frosty winter months
/https://tf-cmsv2-smithsonianmag-media.s3.amazonaws.com/filer/f1/a4/f1a41f96-9bb2-4ef1-8fa4-af2f81011d85/flora-grubb-inspiration-wr.jpg)
Everyone needs a warm place to snuggle up for winter. That includes members of the insect world. With this in mind, my coworkers and I created a beautiful overwintering habitat for bugs in the Ripley Garden.
Call it a bug-a-bode. Or a bug house. Or an insect-o-minium. No matter what you call it, hopefully it will attract many welcome residents.
In natural settings, insects find cracks and crevices to nestle into. Adult insects frequently lay eggs in the most protected spot they can find, then go off to die, hoping that this precious cargo will make it through the winter to sustain the insect population. However, in urban areas with miles of pavement and neatly manicured gardens, insects face a significant challenge because there are few overwintering sites left for them.
As the foundation of our entire ecosystem, insects are extremely important. They pollinate the food we eat, serve as food for birds and other animals, and help decompose dead material. A world without insects would be quite bleak. To help bolster the essential insect population, gardeners all over the world create all kinds of bug sanctuaries. Some are as simple as not cleaning up a garden in the fall, and leaving dried plant materials standing over the winter. Or leaving a pile of twigs, stems, leaves and such in a back corner of the garden. Or keeping bundles of hollow stems tucked around so that insects can overwinter or lay their eggs in the pithy stems.
I wanted to create such a sanctuary in the Ripley Garden, but I also wanted it to be attractive and functional. A visual cruise around the Internet yielded several ideas. In the end, I was inspired by a design created by master builder Kevin Smith for Flora Grubb Gardens in San Francisco.
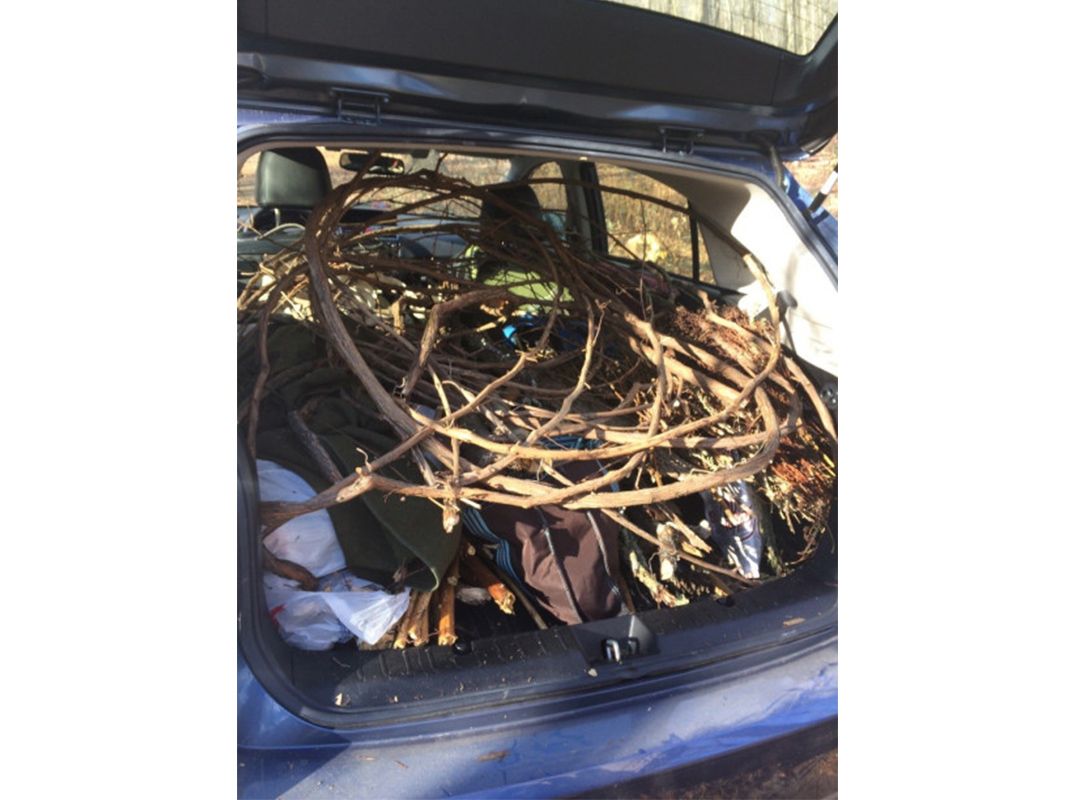
Now I just needed natural materials to fill it with—so off I went hiking over the Thanksgiving holiday to procure a carload of wild materials of various textures and colors—thanks to my dear husband who let me use his new car!).

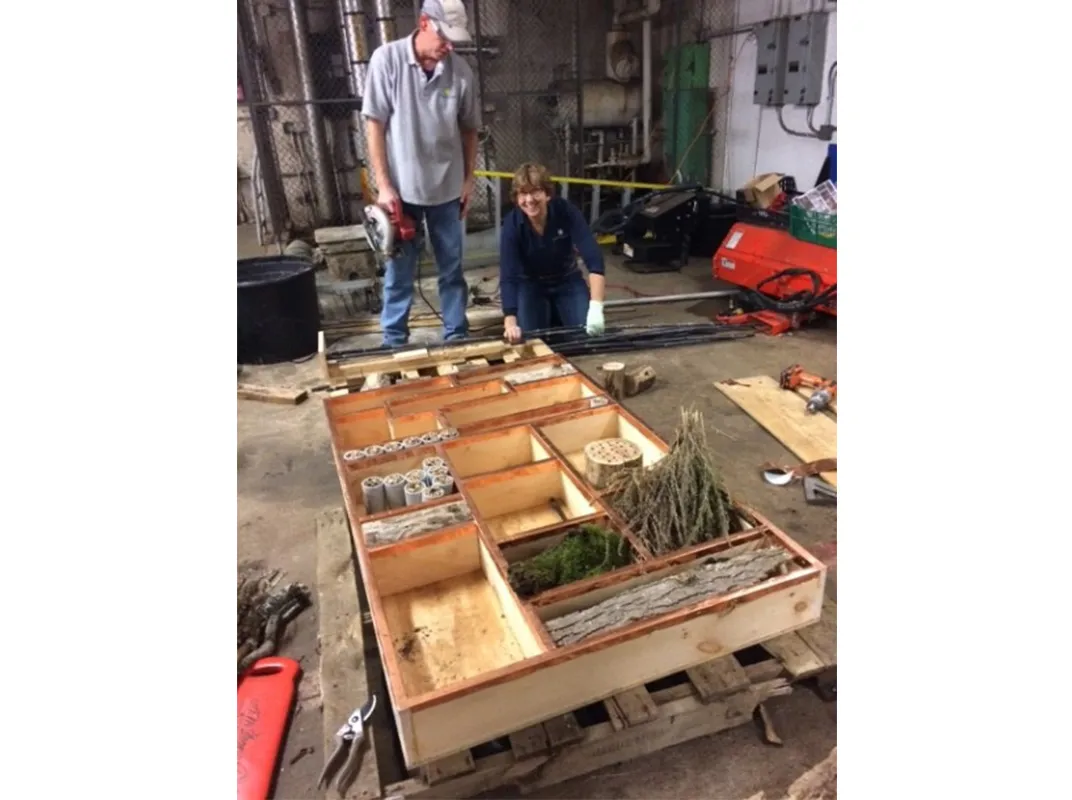
Next was a trip to the local hardware store to get supplies—untreated lumber, screws and copper flashing—and then my colleague Rick Shilling went to work building boxes. We wanted the depth of the box to be 6 inches, so first Rick created the outer frame and attached it to a backing of plywood.
Next he crafted individual boxes of various sizes that we placed inside the outer frame and adjusted them until we liked the visual effect. We used a nail gun to fastened them into place. To give the habitat an artistic finish we added copper flashing to the face of each compartment before filling the boxes. From there it was just a matter of playing with the materials to create a pleasing collage, and figuring out how to secure them so they would not fall out.
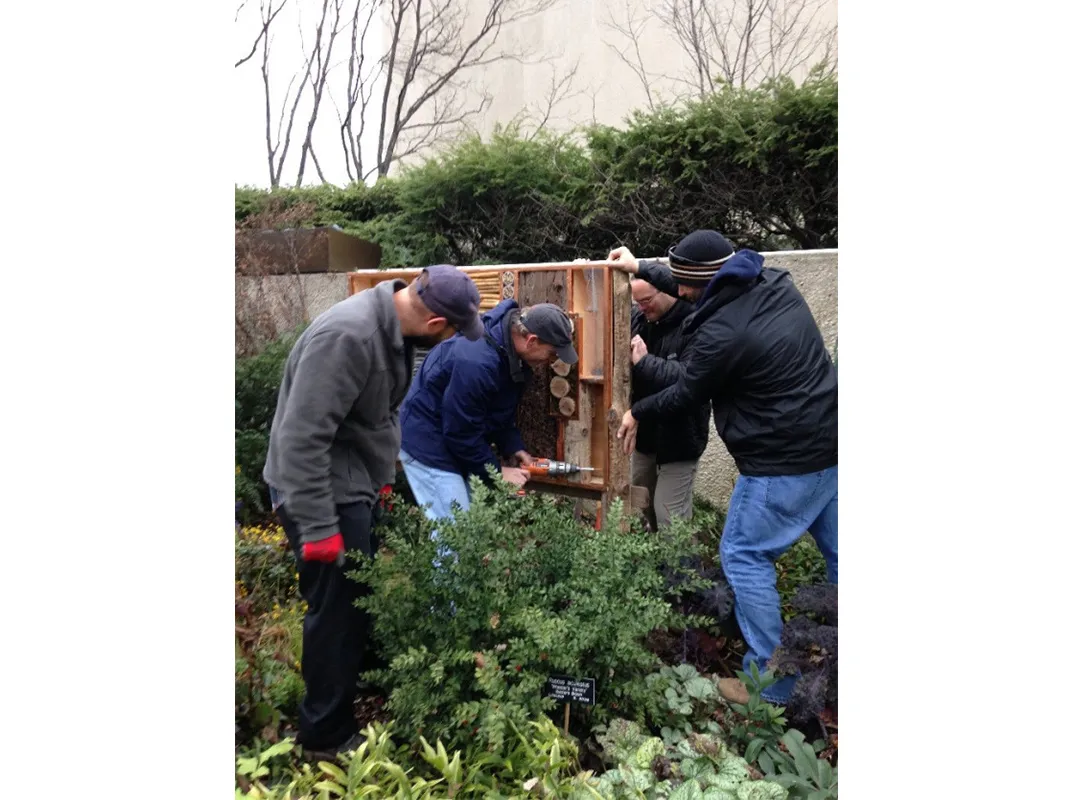
Rick devised a way of installing some Chamaecyparis trunks in the two outermost compartments. The other compartments were filled by Smithsonian Gardens new integrated pest manager Holly Walker. With additional manpower from other team members, the box was installed in the garden, and presto! An amazing insect habitat that is not only functional for the bugs, but artistic to boot.
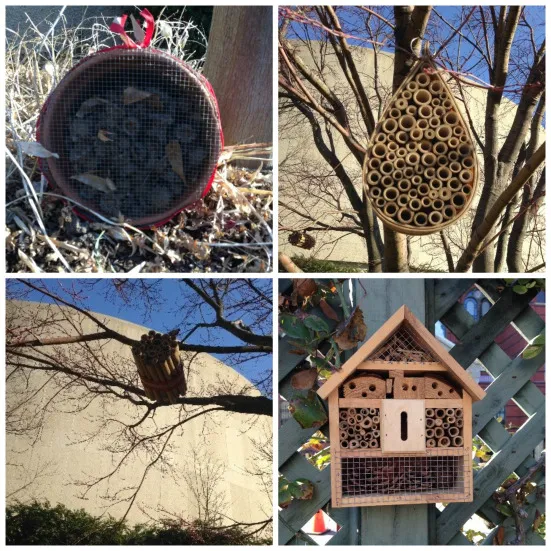
If you want to build your own insect house, it does not need to be this elaborate. I have installed a few simpler versions in the Ripley Garden. A pot filled with acorn tops protected with wire mesh to keep animals out or a bundle of bamboo can also do the trick.

Or the easiest bug habitat of all is simply to leave your garden a little messy over the winter to provide our much-needed insect population with some warm shelter during the cold frosty months.
A version of this article originally appeared on the Smithsonian Gardens website.


